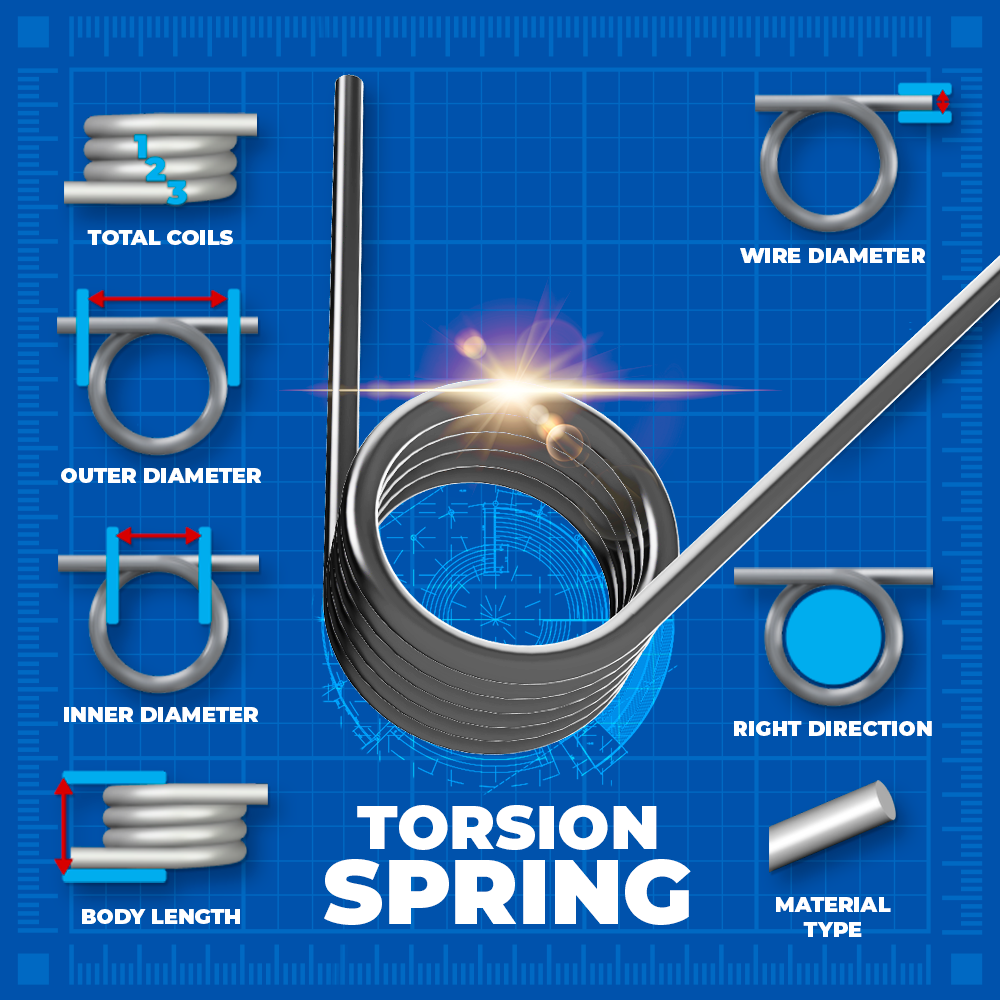
Garage door torsion springs contain enough stored energy to lift a mid-sized SUV, and enough danger potential to permanently alter your life if mishandled. While hiring a pro is always the safest bet, this guide walks you through how to wind torsion springs yourself, drawing from 25 years of hands-on experience. But let's be clear, this isn't a job to take lightly.
2. Understanding Torsion Spring Mechanics and Risks
Why These Coils Demand Respect
Torsion springs work like coiled cobras, harmless when properly restrained, deadly when provoked. Each spring stores rotational energy through tightly wound steel coils, counterbalancing your door's weight. A standard 7-foot garage door spring contains roughly 800 lbs of tension. That’s quivalent to three NFL linemen jumping simultaneously 12.
 Critical Safety Insights
- Improper handling causes 86% of garage door injuries (as of 2025), with tool slippage being the primary culprit 34
- A 2024 incident in Dayton, Ohio saw a homeowner lose three fingers when a screwdriver substitute slipped during winding 5
- Springs age like milk, not wine: Corrosion and metal fatigue create silent failure risks even when handling appears safe 6
3. The Non-Negotiable Toolkit for Safe Winding
Four Essentials You Can't Compromise On
- Hardened steel winding bars (18-24" length, 5/8" diameter). They’re the only tools rated for torsion spring torque
- Locking pliers to immobilize the torsion tube. Your insurance against sudden rotations 1
- Torque wrench for precision tightening (14-15 ft-lbs baseline 8)
- Drill-powered Safe-T-Winder for doors wider than 12 feet 9
 Safety Armor Checklist
- Impact-resistant goggles (ANSI Z87.1 rated)
- Reinforced leather gloves
- Steel-toed shoes
4. Step-by-Step Winding Protocol
Preparation: Your Path to Survival
- Unplug the door opener. Garage door functionality tests post-winding
- Clamp tracks 18" above floor using C-clamps. It exceeds basic recommendations for stability 10
- Calculate required turns: (Door height in inches ÷ 12) × 4 = Total quarter-turns
The Control Sequence
- Seat first winding bar fully into bottom cone socket (imagine threading a needle blindfolded, no half-measures)
- Rotate 90° in direction stamped on spring (usually clockwise for residential doors)
- Lock second bar in next socket before removing first. Maintain constant tension like swapping climbing carabiners
- Repeat until reaching calculated turns
 Post-Winding Verification
- Balanced door test: Should hold position at 4-foot height
- Sound audit: Hissing/grinding = uneven tension
5. Catastrophic Errors and Prevention Tactics
Mistake 1: Calendar-Based Replacements
Cycles matter more than years. Track openings/closings (1 cycle = full operation cycle). Heavy 3-car households hit 10,000 cycles faster than weekend cabins
Mistake 2: Ignoring Environmental Factors
Coastal homes require quarterly lubrication with lithium-complex grease. Salt air accelerates corrosion 5x faster than inland conditions
Mistake 3: Wingin' Without Windin'
Contrary to YouTube myths, you can't eyeball spring tension. Use formula: Target turns = (Door height in inches ÷ 3). A 96" door needs 32 quarter-turns 11
6. When DIY Becomes DANGER
Professional Intervention Triggers
- Visible gaps between coils or rust blooms
- Door reversing mid-cycle
- Uncertainty about winding direction
 Pro technicians use laser tension gauges and hydraulic lifts, advantages DIYers can't replicate safely 12. Your local garage door expert typically charges $150-$300 for spring replacement, a fraction of ER visit costs.
Sustainable Safety Philosophy
Maintaining torsion springs is all about being smart. Replace your springs every 10,000 cycles regardless of apparent condition 2. Also, do a quick visual check monthly, stay back and watch how the springs align when you partially open the door.
This guide is all about doing things safely. If working on garage door springs makes you nervous, that's actually a good sign, it means you understand the risks. There's nothing wrong with calling a professional. Sometimes the smartest move is knowing when to step back and let someone else handle it.

