

Ever wonder what keeps your garage door running smoothly? It’s those vertical frames on each side, called jambs, that provide critical structural support, ensure smooth door operation, and enhance security. When they're good, your door glides smoothly. And when they're not, you'll definitely know. Even if you’re tackling garage door installations, replacing aging jambs, or troubleshooting persistent issues, understanding their role can save you headaches and money. Here's what you need to know.
Residential Garage Door Jamb Essentials
Choosing the Right Material
Your jamb’s performance starts with material selection. In humid climates like Florida’s coast, PVC or fiber cement excel due to their moisture resistance, eliminating rot and swelling common in wood 1. Cedar and redwood offer natural decay resistance for traditionalists but demand annual sealing, which is a trade-off for their classic appeal 2.
 For heavy steel doors, match the door’s strength with reinforced steel jambs or pressure-treated 2x6 lumber. This prevents sagging and ensures smooth operation for decades. Modern PVC options strike a balance, offering low maintenance and compatibility with smart garage door systems that rely on precise alignment for sensor accuracy 3.
Pro Tip: After helping a neighbor replace warped pine jambs with PVC last summer, I watched their garage door’s grinding noises vanish overnight. This is proof that material choice matters.
Top Installation Challenges
Even seasoned DIYers face hurdles during residential garage door installations. Here’s how to avoid common pitfalls:
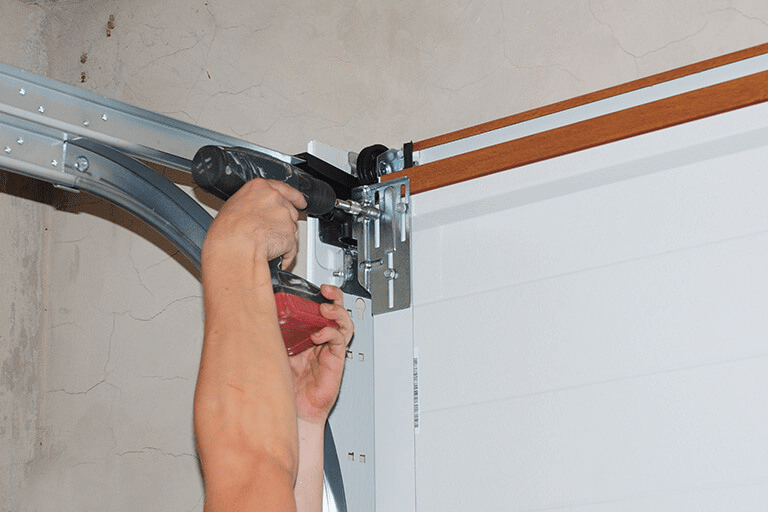
Misaligned Tracks
A misaligned jamb throws tracks off-kilter and strains rollers and motors. To ensure tracks stay parallel and plumb, use a 4-foot level to adjust vertical jambs. If the door sticks at the midpoint, insert shims behind the jamb brackets to correct the angle 4.
 Water Warfare
Untreated wood acts like a sponge in rainy climates. When replacing rotten sections, opt for ground-contact-rated lumber and seal cuts with a protective wood preservative (skip the niche copper naphthenate, modern acrylic sealants work better). Finish with vinyl weatherstripping along the jamb’s base to block water ingress.
 Gaps = Invites
A 1/8" gap might seem harmless, but it’s a welcome mat for mice and drafts. Measure your door opening twice, then cut jambs 1/4" shorter than the height to allow for seasonal expansion. Secure them with 3-inch galvanized nails every 12 inches vertically, and seal edges with silicone caulk 5.

Top-Rated Materials for Durable Installations
Longevity Showdown
Wood: Lasts 10–15 years with yearly staining but rots fast in dampness. A 2023 University of Florida study found cedar jambs failed within 7 years in hurricane zones without rigorous upkeep 6.
PVC: Resists warping and insects for 20+ years. Ideal for coastal homes but avoid direct impacts since it cracks under baseballs or wayward ladders 6.
Steel: The heavyweight champion, lasting 30+ years. Pair with rust-proof coatings in snowy regions to prevent corrosion around nail holes 8.
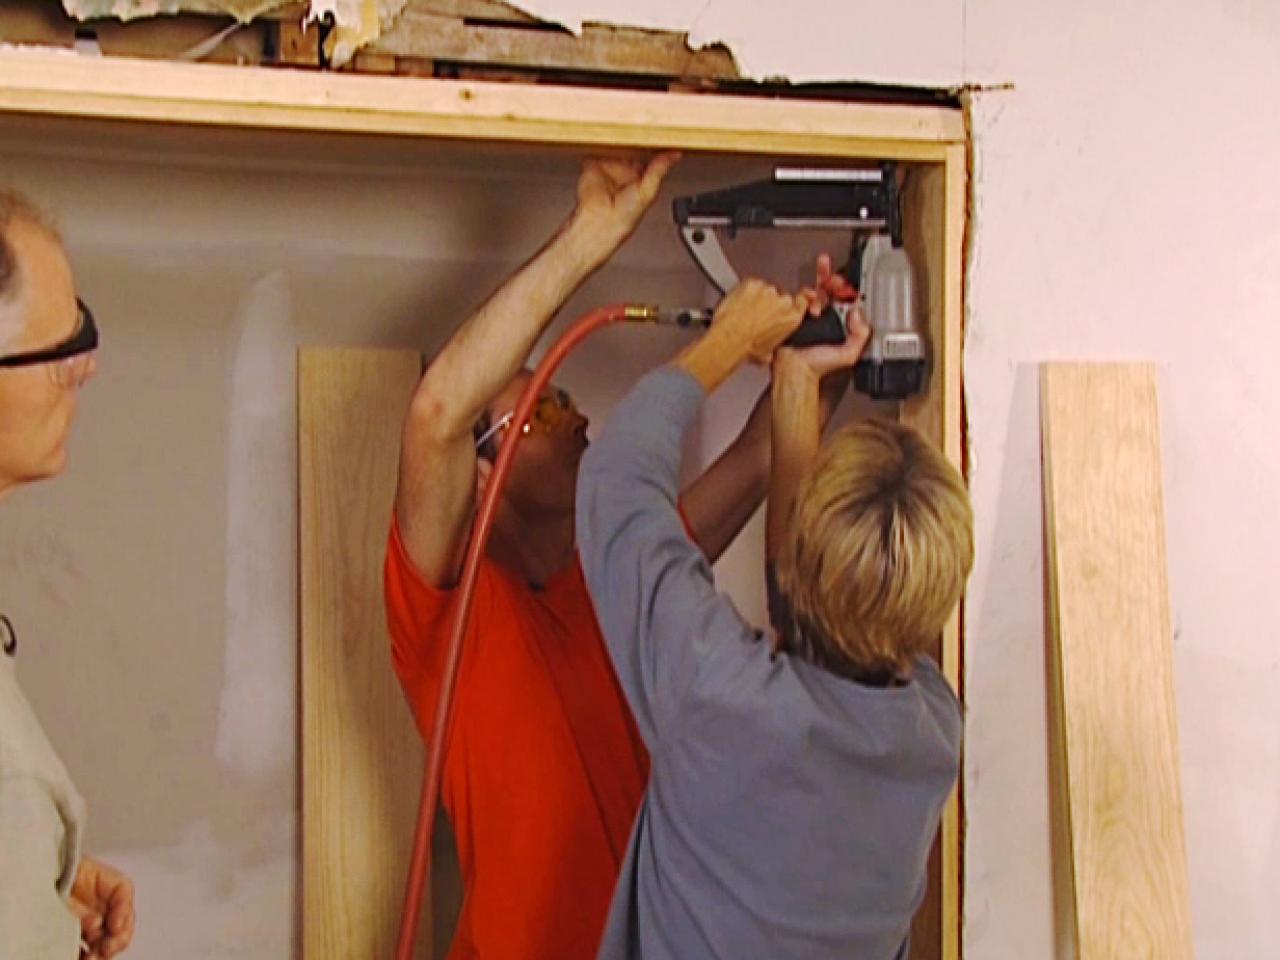
Step-by-Step Jamb Replacement
Tools You’ll Need: Pry bar, circular saw, galvanized nails, shims, utility knife, silicone caulk.
Remove the Old
Pry off trim carefully to avoid damaging siding. Extract nails diagonally to minimize wall tears. I learned this the hard way when repairing my 1940s garage 9.Cut Smarter, Not Harder
Size PVC or lumber 1/4" shorter than the door height. This gap prevents buckling during summer expansion.Secure & Fortify
Nail jambs every 12 inches vertically. For wooden frames, apply self-adhesive flashing tape behind the trim. It’s a $10 trick that blocks 90% of moisture intrusion 10.Test Relentlessly
Open/close the door 10 times. If it hesitates near the top, adjust the header’s shims. Too much friction at the bottom? Sand the jamb’s inner edge gently.
Safety First: Always disconnect the opener and wear gloves when handling splintered wood. Garage doors weigh up to 400 lbs so never work alone on overhead components.
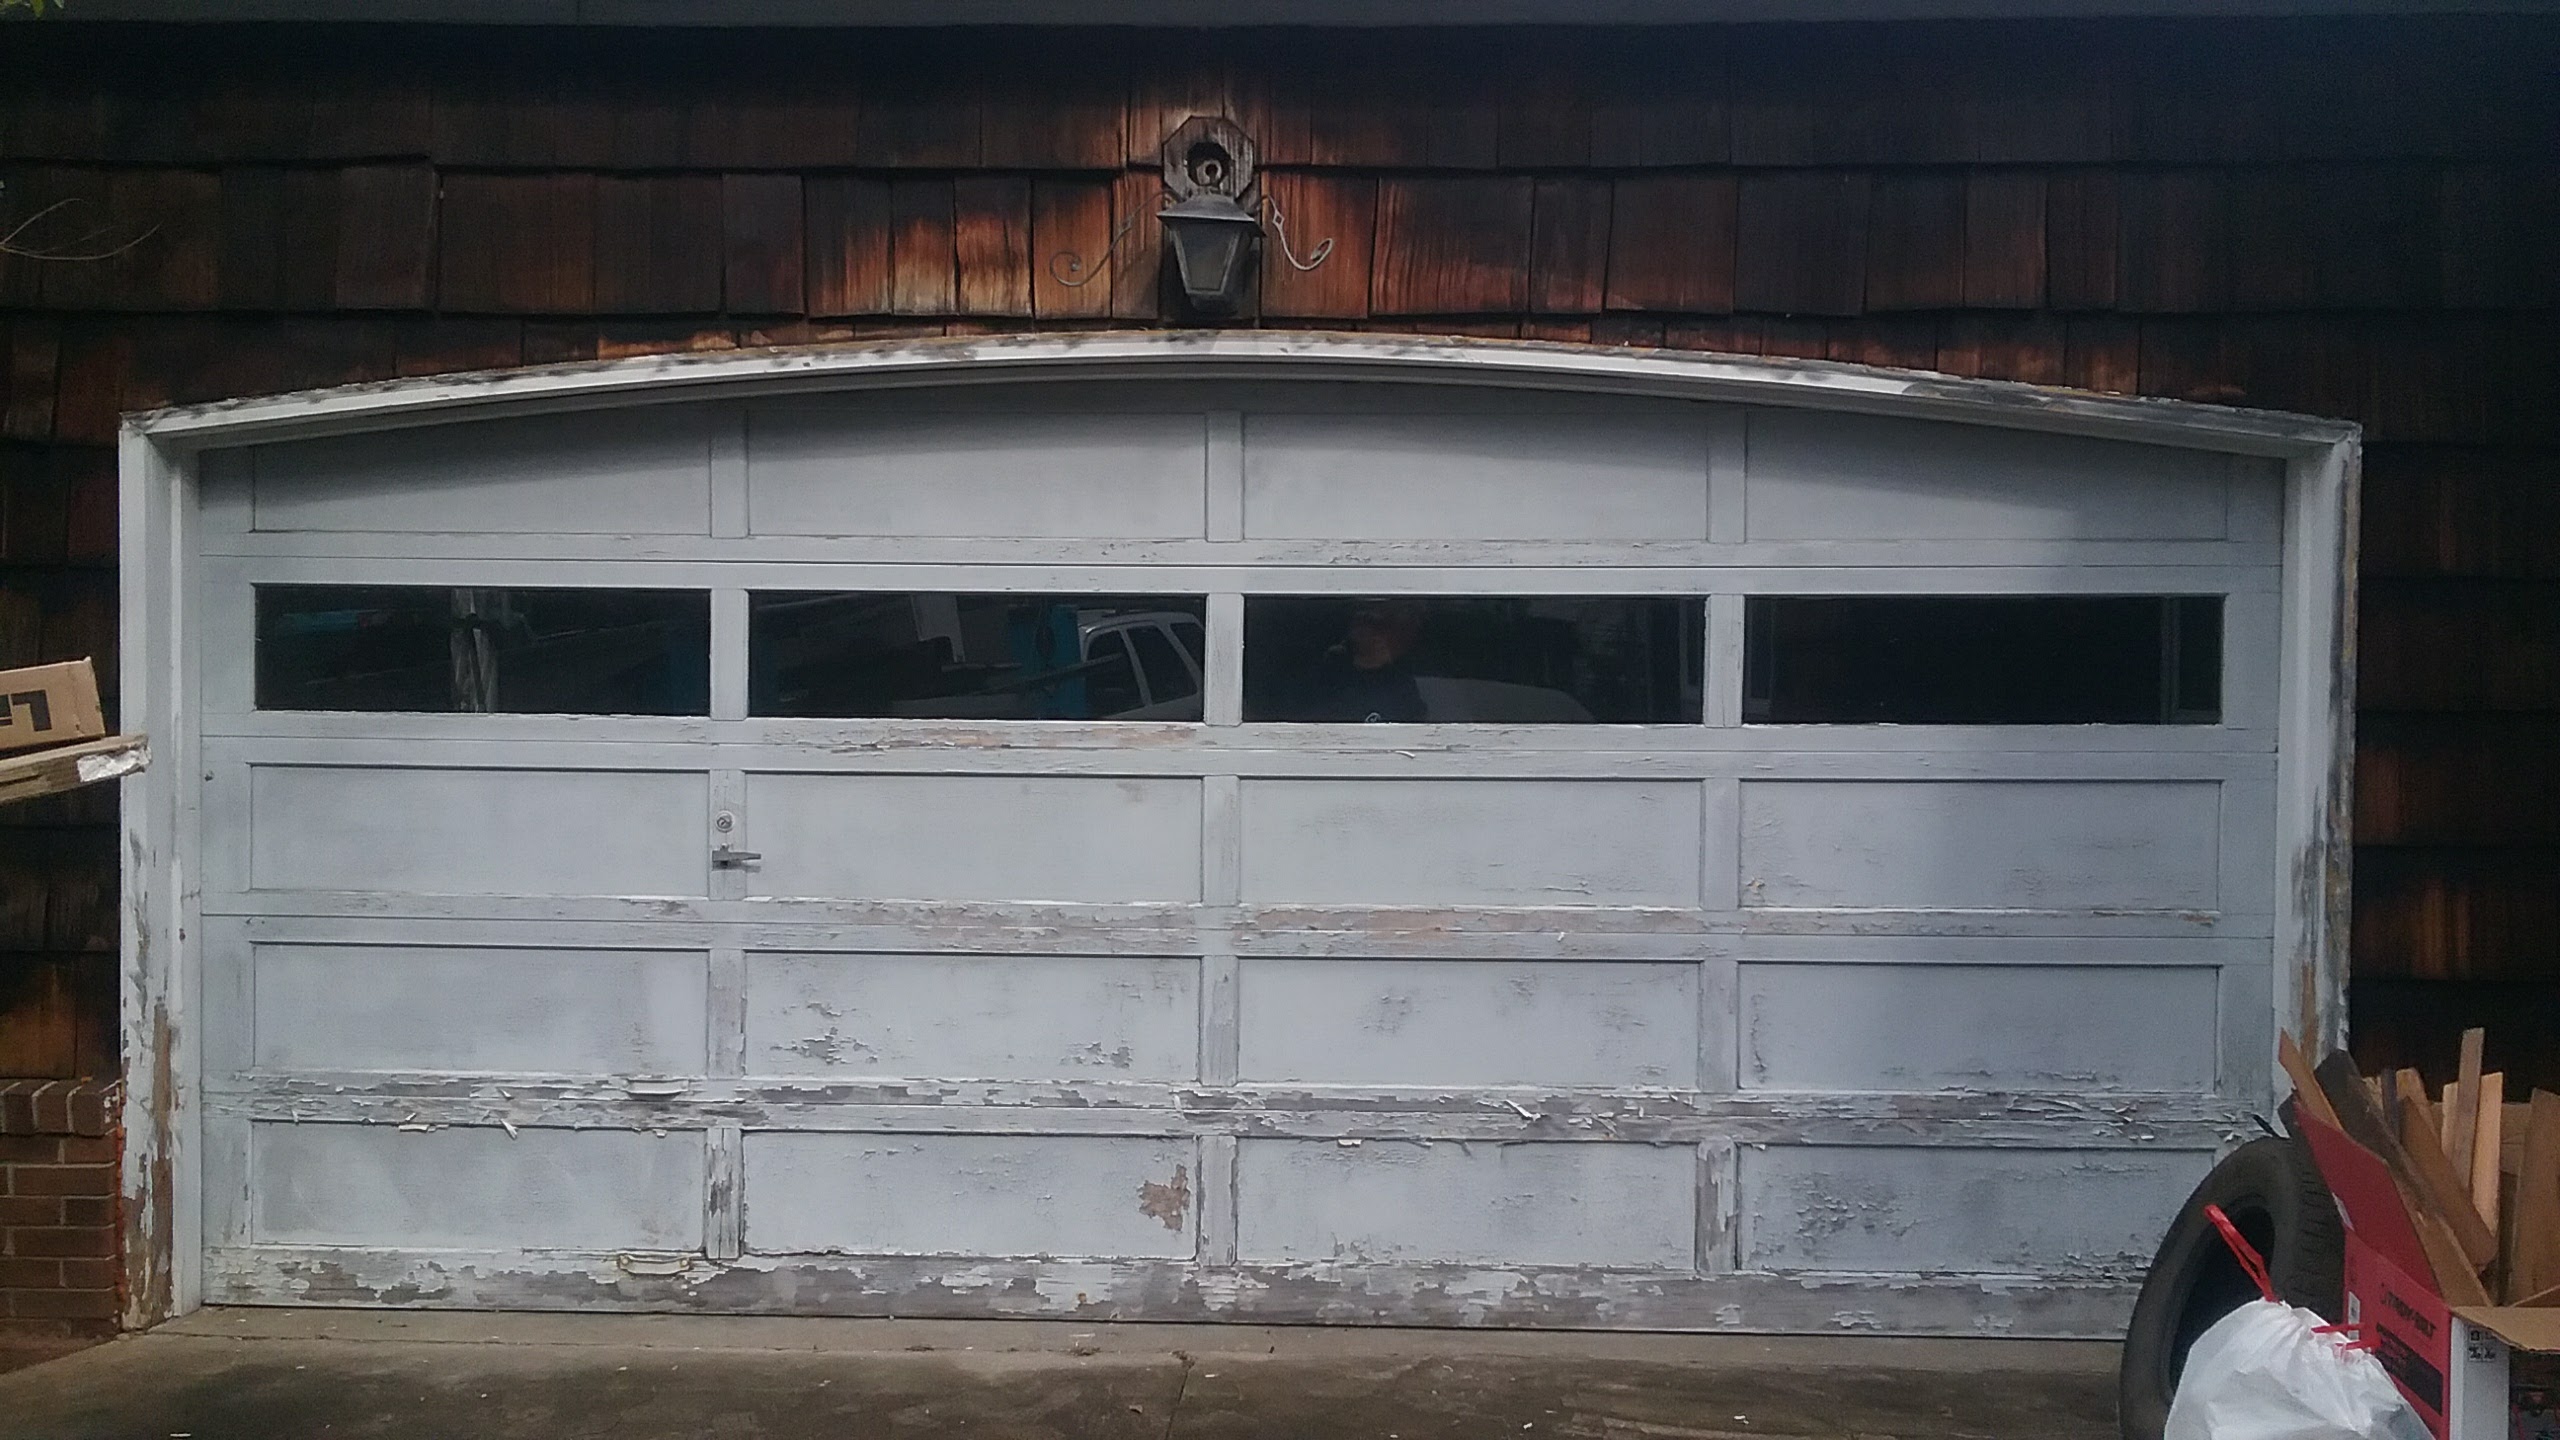
When to Repair vs. Replace
Spotting early jamb failure saves thousands:
Soft Spots: Press a screwdriver into the wood. If it sinks like butter, rot’s spreading 11.
Uneven Gaps: Measure the space between the door and jamb at the top, middle, and bottom. Differences over 1/2" signal warping.
Grinding Noises: Often trace to loose jamb brackets letting tracks shift.
Maintenance That Pays Off
Biannual Inspections (Spring/Fall): Check for cracks, wasp nests, and sealant peeling.
Weatherstripping Upgrades: Replace brittle vinyl seals with rubber ones since they last 5x longer in freezing temps.
Lubricate Monthly: A silicone spray on hinges reduces strain on jambs by 40%.
Why Jambs Are Your Garage’s Silent Guardians
Beyond looks, jambs anchor critical safety features:
- They house lock bolts that deter break-ins. A steel jamb adds 3x more resistance to crowbars than wood 13.
- Proper alignment keeps safety sensors accurate. If your door reverses when closing, misaligned jambs might be blinding the sensors 14.
Conclusion: Invest Wisely, Save Repeatedly
Residential garage door installations live or die by their jambs. Yes, upgrading to PVC or steel costs about 20% more than basic wood upfront. But one client saved $1,200 over five years by switching to PVC. No more annual sealing or rot repairs 6.
Know your limits though. If you're dealing with torsion springs or major structural work, consult a pro. And think of it this way, a $200 jamb repair today prevents a $2,000 door collapse tomorrow. Your garage’s backbone deserves nothing less.
Did You Know? The International Door Association attributes 34% of garage door malfunctions to poorly aligned jambs 14. Don’t gamble with your home’s safety and inspect those jambs this weekend.