
You've got a damaged panel on your Wayne Dalton garage door. Maybe someone backed into it, or years of weather finally took their toll. Now you're trying to figure out if replacing just that one panel makes more sense than installing a completely new door.
The Wayne Dalton 9005 replacement panel works specifically with Models 9100 and 9605 classic steel garage doors. These polyurethane-insulated steel panels let you fix the damaged section without the expense of replacing your entire door. This guide walks you through what makes these panels unique, what installation actually involves, real costs you'll face, and how to decide between tackling this yourself or hiring someone.
Safety Note: The TorqueMaster spring system used with 9005 panels is safer than exposed torsion springs, but it still stores extreme tension. Incorrect handling during installation can cause serious injury.
Understanding what you're getting into now prevents expensive mistakes and helps you make the right choice for your situation and skill level. Whether you're a confident DIYer or someone who needs to evaluate contractor quotes, you'll know exactly what this project requires.
What Makes Wayne Dalton 9005 Panels Different
Wayne Dalton 9005 panels aren't universal garage door sections. They're engineered specifically for 9100 and 9605 series doors, with dimensions typically measuring 21-1/4 inches high by your door's width. The polyurethane insulation provides an R-value between 9 and 12, which matters if you're trying to maintain consistent insulation across your door.
These panels integrate with Wayne Dalton's TorqueMaster enclosed spring system rather than traditional exposed torsion springs. The TorqueMaster design puts the spring inside a protective tube, reducing the injury risk you'd face with standard springs. Each panel comes with mounting holes for end hinges, track rollers, and strut attachments that match the existing sections on your door.
You can't just swap in a generic steel panel from the hardware store. The hinge spacing, roller stem length, and panel thickness need to match your existing door exactly. Mismatched panels create gaps, binding, and premature wear that defeats the purpose of saving money on replacement. When common garage door problems involve panel damage, compatibility checking comes before anything else.
The Installation Process Broken Down
Installing a 9005 panel follows a specific seven-step sequence. You'll spend time preparing the work area, setting up tracks and brackets, positioning the new panel, stacking any additional sections, installing horizontal tracks, adjusting the TorqueMaster spring system, and making final adjustments.
For a standard 8-foot wide door with four sections, experienced DIYers typically spend 2 to 3 hours on installation. A 16-foot door with seven or eight sections pushes that timeline to 4 to 6 hours. Professional installers complete the same work in roughly half that time because they've done it dozens of times and have specialized tools that speed things up.
The trickiest parts involve aligning vertical tracks within 3/8 to 5/8 inch of the bottom section and properly tensioning the TorqueMaster springs. Track alignment outside that range either binds your rollers or lets the door gap. Spring tension requires exactly 16 turns from the zero mark using a ratchet wrench, never an electric drill.
Pro Tip: Record the exact number of spring turns as you wind them. If you lose count, you'll need to start over from zero to avoid dangerous over-tensioning or inadequate counterbalance.
The spring replacement process shares similar tension requirements, which is why many homeowners choose professional installation for anything involving the spring system. Common mistakes include stacking panels out of sequence, reversing the opener bracket position, and failing to maintain the precise 1-11/16 to 1-3/4 inch spacing between the flag angle and door edge.
Real Cost Breakdown for Materials and Labor
Panel replacement costs vary based on your door size, regional labor rates, and whether you're replacing one section or multiple panels. Here's what you're actually looking at financially.
| Component | Cost Range |
|---|---|
| Single 9005 panel (9x7 ft door) | $250-$450 |
| Tracks, hinges, springs kit | $150-$300 |
| Complete kit with TorqueMaster | $500-$900 |
For labor, the ranges shift based on your location and the scope of work.
| Service Type | Suburban Range | Urban Range |
|---|---|---|
| DIY materials only | $400-$800 | $400-$800 |
| Professional single panel swap | $400-$900 | $700-$1,500 |
| Full door with panels | $1,200-$2,500 | $2,000-$4,000 |
Panel replacement makes financial sense when your door is relatively new, only one or two sections are damaged, and the rest of the door functions properly. If your door is over 15 years old or needs multiple panel replacements, the math often favors complete door installation instead.
Metro areas typically run 10 to 20 percent higher than suburban quotes. Getting three estimates from different contractors gives you an accurate picture of fair local pricing and helps you spot outliers trying to overcharge.
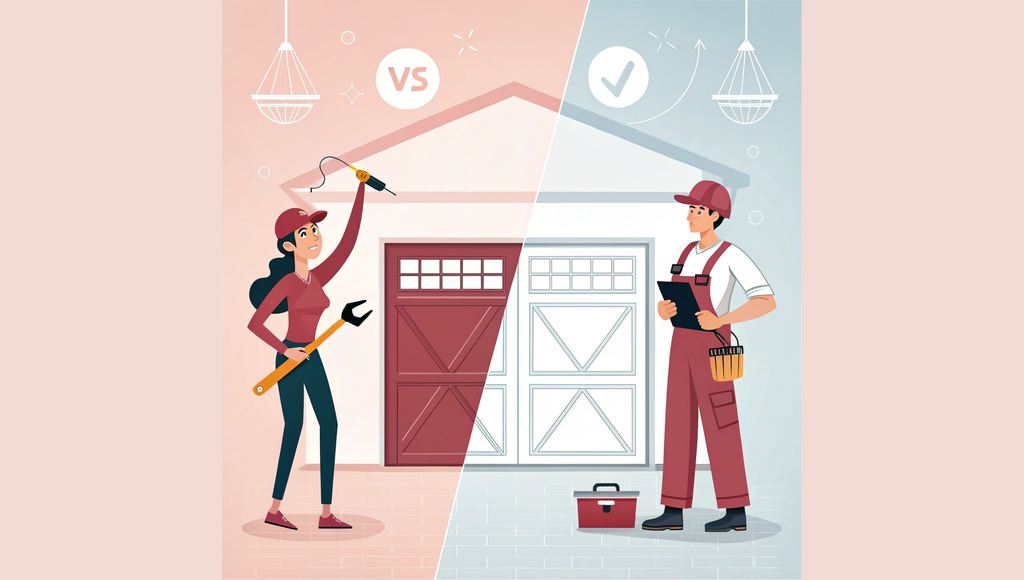
Should You DIY or Hire a Professional
Your decision comes down to three factors: door size, your mechanical experience, and comfort working with spring systems.
DIY makes sense if your door is under 16 feet wide, you have experience with similar mechanical projects, and you're willing to invest 3 to 6 hours following detailed instructions. The TorqueMaster system is genuinely safer than exposed torsion springs, which reduces the injury risk compared to older spring designs.
Call a professional if you've never worked on garage doors before, your door uses exposed torsion springs instead of TorqueMaster, you notice track alignment issues beyond simple panel damage, or you're dealing with a door wider than 16 feet. The cost difference between DIY and professional installation typically runs $300 to $700, but that covers expertise, proper tools, and warranty coverage on the work.
Did You Know? DIY garage door spring work carries a 15 percent injury rate according to industry surveys, while professional installations see injury rates below 2 percent.
Look for contractors with current licensing, general liability insurance, and recent reviews across Google, BBB, and Angi. Choosing reliable contractors involves verifying credentials and checking complaint resolution patterns, not just looking at star ratings. Companies with 50-plus recent reviews averaging 4.5 stars or higher typically deliver consistent quality.
Time savings matter too. Professionals complete an 8-foot door installation in 1 to 1.5 hours compared to your 2 to 3 hours, which frees up your weekend for other projects.
Wayne Dalton 9005 panel replacement gives you a targeted fix for door damage without the expense of complete replacement. The decision between DIY and professional installation hinges on your mechanical confidence, door specifications, and honest assessment of safety risks. Measure your door carefully, verify your model compatibility, and choose the approach that matches your skills and available time. Your garage door will be back in working order either way, you'll just take different paths to get there.
FAQs
How much does a Wayne Dalton 9005 replacement panel cost compared to a full door replacement?
A single Wayne Dalton 9005 panel costs $250 to $450, with installation adding another $400 to $900 professionally. Complete door replacement runs $1,200 to $4,000 depending on your location. Panel replacement saves money when your door is newer than 15 years and only one or two sections need fixing. Multiple damaged panels or older doors make full replacement more cost-effective.
Can I install a Wayne Dalton 9005 panel myself or should I hire a professional?
DIY installation works for doors under 16 feet wide if you have mechanical experience and can commit 3 to 6 hours. The TorqueMaster spring system is safer than exposed springs but still requires precise tensioning. Hire a professional if you've never worked on garage doors, have alignment issues beyond panel damage, or feel uncomfortable with spring systems. Pros finish in half the time with lower injury risk.
How long does Wayne Dalton 9005 panel installation take?
Installation time depends on door size and experience level. For an 8-foot wide door, experienced DIYers need 2 to 3 hours while professionals finish in 1 to 1.5 hours. A 16-foot door takes 4 to 6 hours for DIY and 2 to 3 hours professionally. The process includes track alignment, panel stacking, and precise spring tensioning that can't be rushed.
What makes the TorqueMaster spring system different from regular garage door springs?
The TorqueMaster system encloses the spring inside a protective steel tube instead of leaving it exposed like traditional torsion springs. This design reduces injury risk during installation and maintenance. You adjust tension using 16 turns from zero with a ratchet wrench, never power tools. While safer, it still stores extreme tension and requires careful handling during panel replacement.